Hello Friends!
Well…today is another one of those open days.
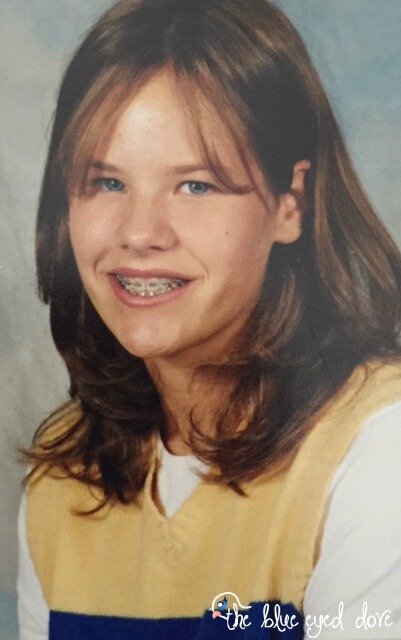
When I was 14 years old like most kids I had braces…
And quite the layering hairstyle too {remember this was when the Rachel haircut was popular?}.
Anyways, because of the braces I developed a slight obsession of taking care of my teeth. Not a bad problem to have, right?! And the obsession has continued post braces. I still wear my retainers regularly, brush frequently and floss when I remember {yep still working on the flossing one}. My parents paid good money for me to have a nice smile and I don’t intend to let that money go to waste…you’re welcome mom and dad 🙂
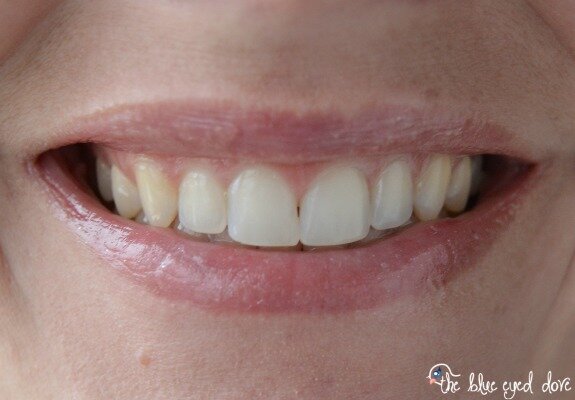
But over time like most people my teeth have gotten a little stained…
This year I decided it was time to do something to make my teeth a little whiter.
I actually received some whitening strips for Christmas. What I learned quickly about whitening strips is that one – you don’t get many in the box, two – they feel weird on your teeth, three – they only seem to remove stains on the surface, and four – they can be expensive…which is why I asked for them for Christmas!
I needed something that was going to work and last. Then I stumbled upon Smile Brilliant who offers custom-fitted teeth whitening trays you can use at home. So, like any curious/cautious consumer I called up my dental hygienist friend Paul to get his opinion on the professional whitening kit. After sharing all of the details Paul gave me the green light…whiter teeth here I come!
First things first…making your own custom-fitted trays.
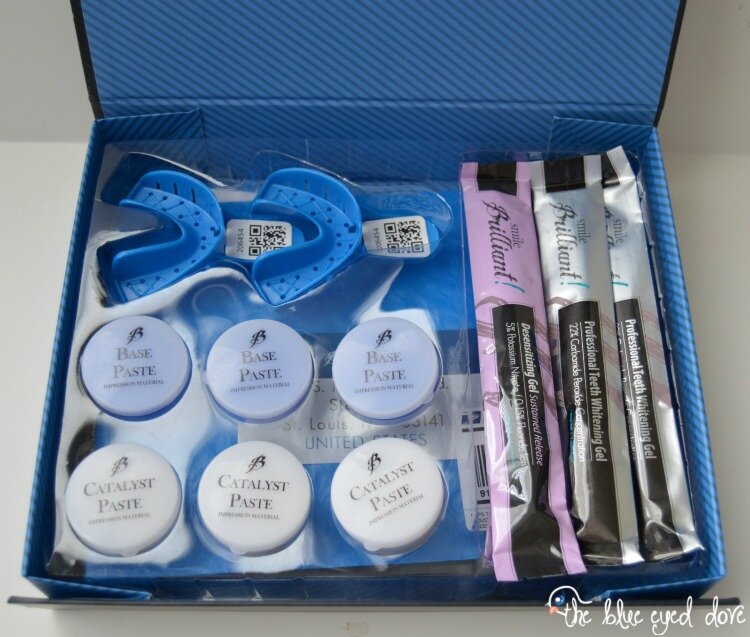
I was so excited to receive this kit in the mail! Not only was it packaged nicely it came with all of the instructions you need to make your impressions for the fitted trays, and for whitening your teeth.
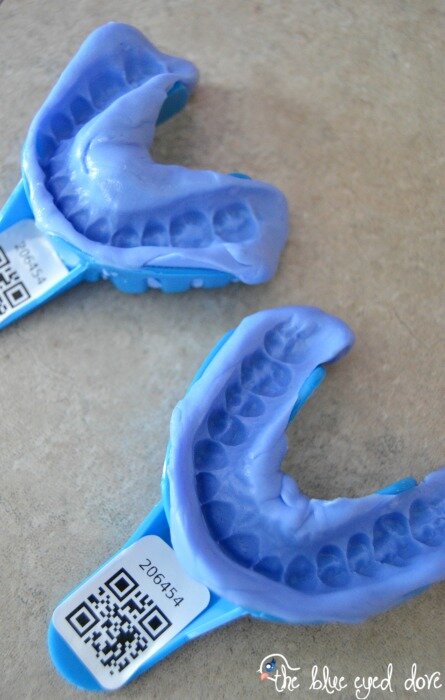
I was sort of nervous about making the impressions for the custom-fitted trays, but it was super easy!
{Plus, if you mess up they include and extra set of paste…no worries!}
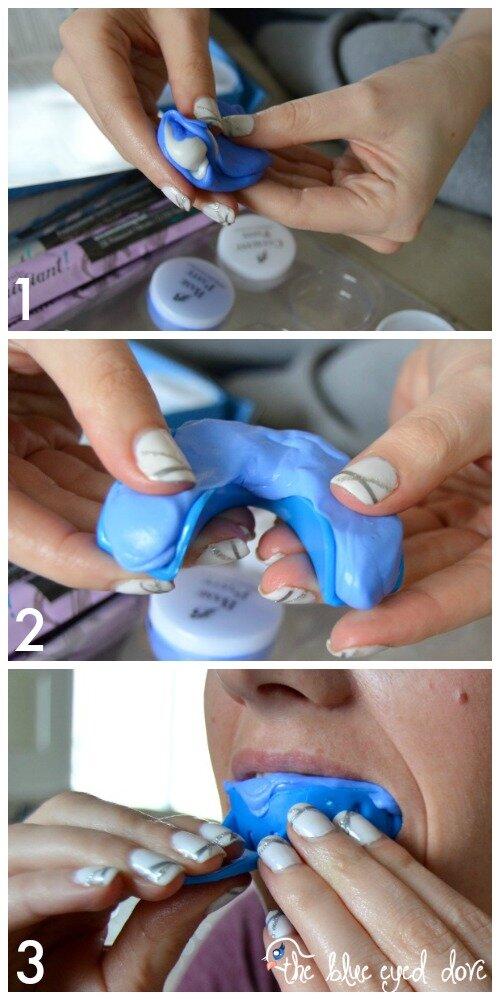
You combine the base and catalyst paste together until it turns completely blue. It took me about 20-30 seconds to do this. Then you fill the impression tray with the paste, and press evenly onto your teeth. Hold this position for about 2 minutes. Remove and follow the same steps to make the next tray.
Let your impressions set for 30 minutes, and rinse under cold water. Once the impressions completely dry place them in the provided mailing envelope and send them back to Smile Brilliant along with your impression identification card.
Next step…wait on your custom-fitted whitening trays! You should have them mailed back to you within a week.
At the expense of opening up a little more {and showing you pictures of me in braces….yikes!} I hope I have peaked your interest in teeth whitening, or you are at least excited to follow along with my teeth whitening journey over the next few weeks 🙂
{If you are ready to whiten your teeth right now use code: dove5 for a special 5% discount on all Smile Brilliant products!} Offer expires April 30, 2015.
Have a good day!
* Disclaimer: I was provided with free product from Smile Brilliant for this post, but all opinions regarding teeth whitening are my own. See my full disclosure policy here.


 Ashley ~ 3 Little Greenwoods says
February 19, 2015 at 6:51 pmThat is too cool! I love that they will make your teeth whitening trays for you!
 theblueeyeddove@gmail.com says
February 20, 2015 at 2:43 amI’m loving it, Ashley! The trays fit so perfect too!