Hello!
Are you ready for Valentine’s Day tomorrow? Luckily, if you are a last minute shopper the stores are still stocked full of all things pink, red and pretty much anything Valentine’s Day related.
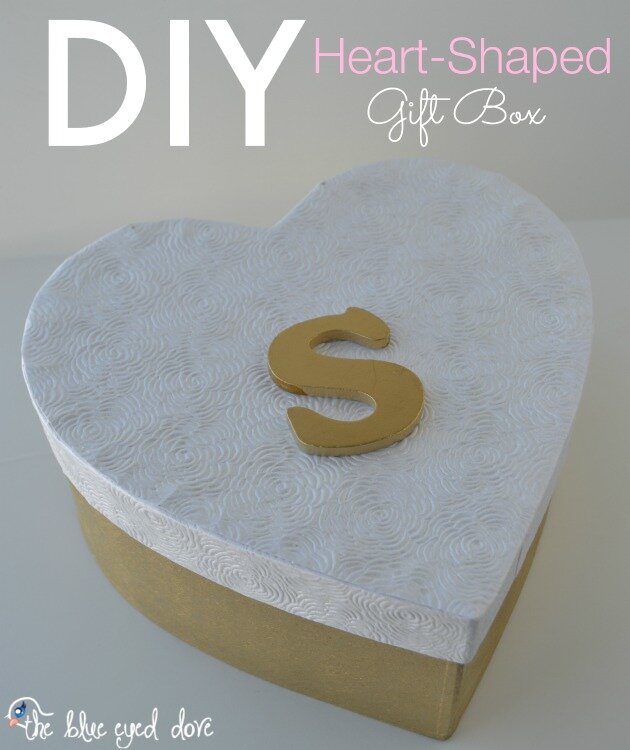
And if you happen to need a cute gift box to store all of your goodies in you are also in luck! I helped my sister, Kelli make the cutest bridesmaids gift boxes to ask the girls to be in her wedding…and they just happened to be heart-shaped…perfect for bridesmaids and also perfect for your Valentine.
We found our paper mache boxes at Hobby Lobby. They had about 4 different sizes of boxes to choose from. And to our knowledge Hobby Lobby is the only craft store that carries these boxes…crazy, right!?
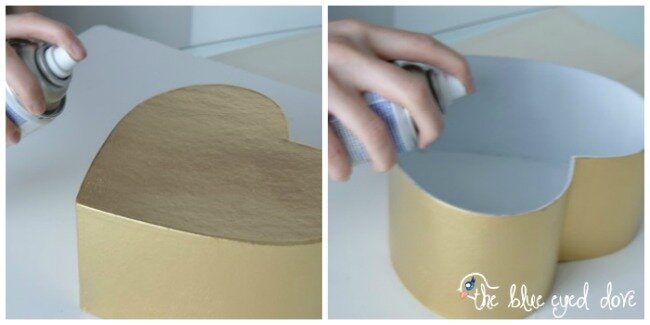
We spray painted the outside of each box gold, the inside white {also including the inside and side edge of the lid}, and each of the bridesmaids’ initials gold.
Since we used our heart-shaped boxes for bridesmaids gifts we picked out some scrapbook paper that looked bridal. Any piece of large scrapbook paper would work to use on the lid.
Here’s how I put the lid together:
Directions:
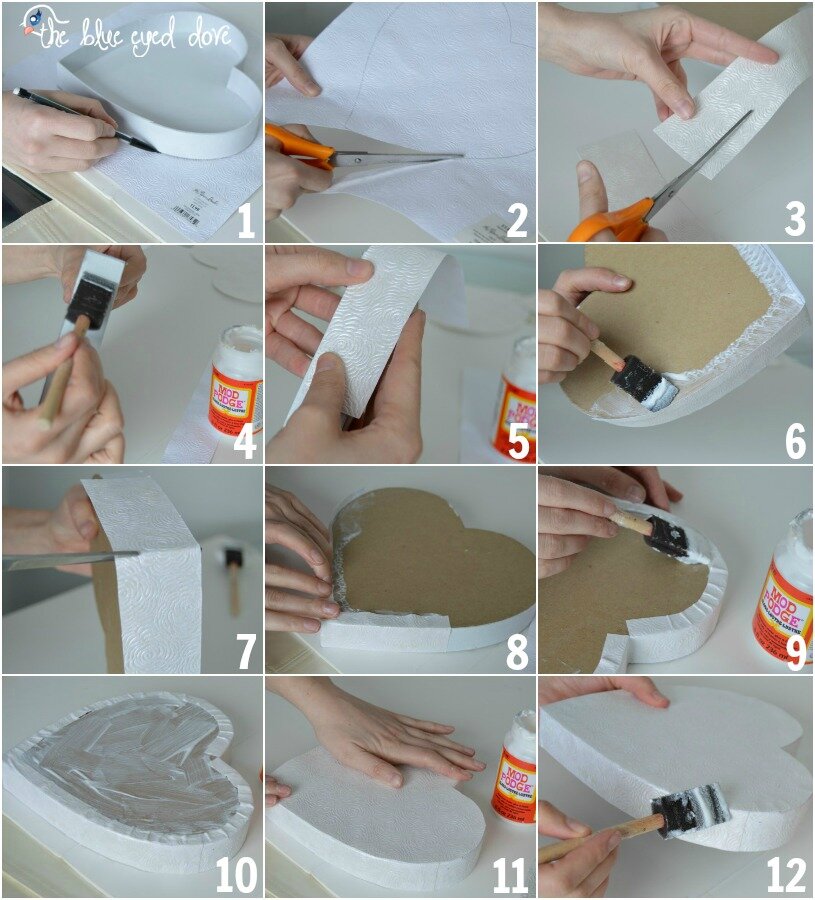
1. Place the heart-shaped lid face down on the scrapbook paper and trace.
2. Cut the top of the lid out.
3. Next, cut out 2-3 narrow strips to add to the side of the lid. {These measured to be about an inch and a half wide for our heart-shaped boxes.}
4. Apply a thin layer of Mod Podge to the edge of the lid.
5. Line the straight-edge of the scrapbook paper up to the side edge of the lid. {The extra half inch will be used to fold over the top of the box.}
6. Use your fingers to secure the paper onto the lid, and smooth out any air bubbles. Continue with the other strips until the entire outer edge is covered, making sure to line your paper up closely to prevent large overlaps. Cut any excess paper off.
7. As you go around the heart adding your edge you may need to make a few cuts at the tip of the heart and the top crease to fold it easier – use scissors to do so.
8. Once the edge is secure {and the tip or crease lines cut if needed}, add a thin layer of Mod Podge to the top of the box near the edge. Then fold the scrapbook paper onto the lid and press down to secure. Again, make sure to smooth out any air bubbles here. Note: The scrapbook paper will have some folds in it, but your cover will hide them.
9-10. Apply a thin layer of Mod Podge over your folded scrapbook paper edge, and then apply a layer on top of the entire lid.
11. Place the heart-shaped cut out on top of the lid, press down to secure and smooth out any air bubbles.
12. Lastly, add a thin layer of Mod Podge to all of the edges on the lid to seal, and let the lid dry for about 15-20 minutes.
Don’t let all of these steps fool you…this project was pretty easy!
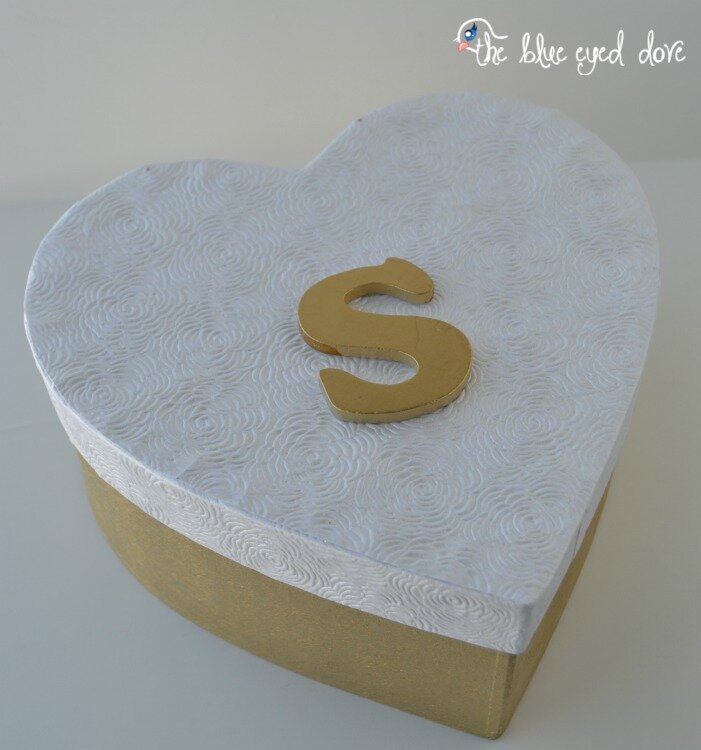
Once the lid was dry we added our gold spray-painted initials with hot glue. Obviously, if you aren’t using an initial you can skip this step 🙂
We were thrilled with the way they turned out! These little paper mache heart-shaped boxes have all kinds of creative potential written all over them. You could use traditional V-Day colors, sports, floral or camo themes…endless possibilities!
How would you decorate yours?
Next week I will show you the gifts we included for the bridesmaids in our heart-shaped boxes…stay tuned!
Happy Friday!


 Wendy says
July 28, 2016 at 1:45 pmHi which size of box dos you get?
I love this idea
 theblueeyeddove@gmail.com says
August 3, 2016 at 6:27 pmHi Wendy! These boxes are the medium size 🙂