Good Morning!
About a month ago I saw these super cute throw pillow covers in the H&M home collection…which by the way if you haven’t seen their home collection you have to check it out here! They have AMAZING stuff!
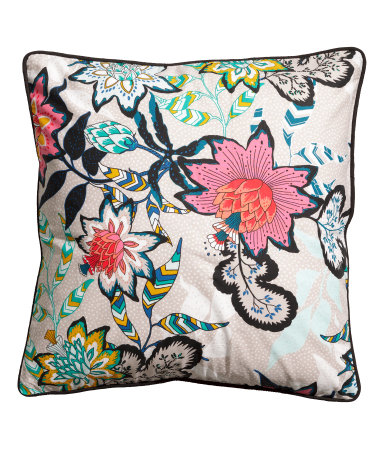
Anyways, back to the throw pillow covers.
Instead of following my mother’s motto of “if you want it get it”, I decided to wait for a coupon I could use on them or for a home collection sale.
So I waited…and waited.
Guess what!? Everyone else must have liked them too, because when I went to buy them they were gone. Just my luck!
On to Plan B…the good ole DIY route.
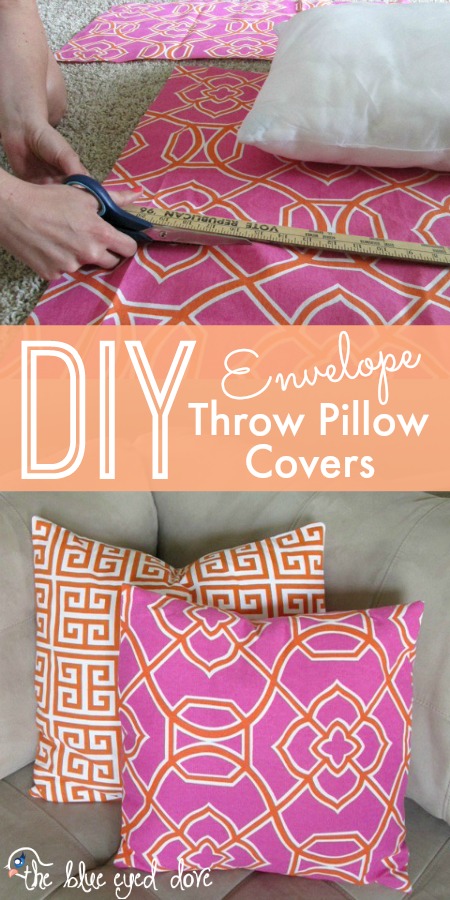
Who am I kidding anyways…you know I prefer the DIY route!
Now I would not consider myself a seamstress whatsoever. However, if I could make these envelope throw pillow covers (with assistance from my lovely mother) anyone can 🙂
To start out I found some summery looking fabric at Hobby Lobby. Which I was able to use a coupon on…so my procrastination did pay off!
Since I don’t have a sewing machine (and you can’t hot glue these things) I headed to my parents house to use my mom’s sewing machine.
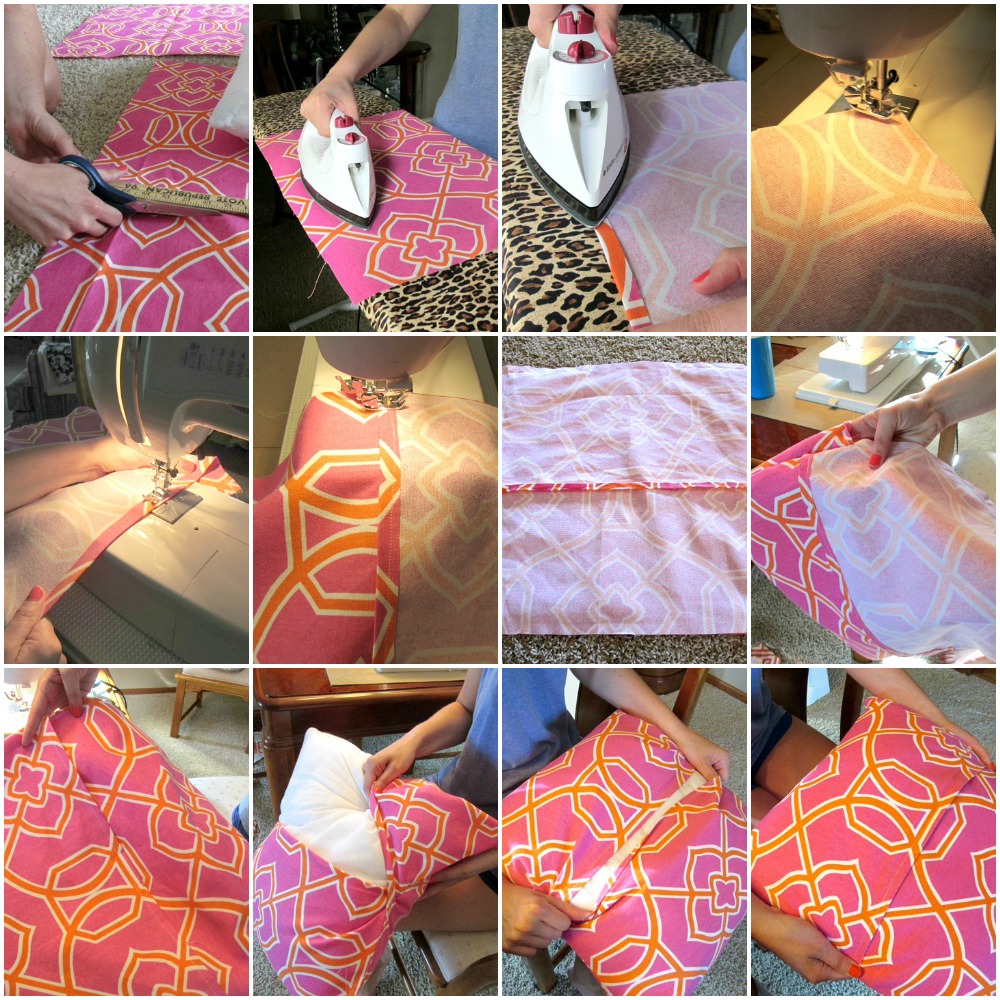
Directions:
1. First, measure your pillow, and add one inch more in length and width in fabric for the front of the pillow. Then cut the fabric.
2. Cut another piece of fabric the same width as the front piece. This time allow the length to be four inches longer than the front piece. Fold this piece in half lengthwise and cut on the fold. Now you have two pieces for the backside.
3. Iron the fabric for both the front and backside of the pillow.
4. Next, fold the raw edges of the back pieces about a quarter-inch and press to create a smooth seam. Then sew the seam on both pieces.
5. Line up the front and back sides of the fabric so it is facing inwards, and sew around the whole pillow cover. Make sure to turn at the corners and not sew to the complete edge.
6. Turn the throw pillow cover inside out and add your pillow.
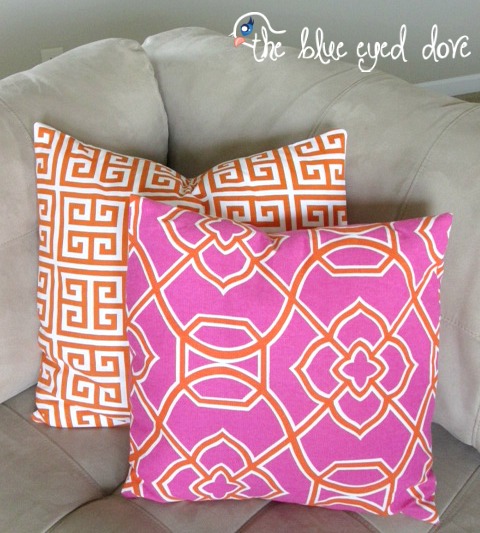
And you have your very own envelope throw pillow covers!
Such an easy way to switch your throw pillows around without spending the money to buy brand new pillows.
Moral of the story…procastination always pays off with the DIY route. And if you are looking to brighten up your space pillows can be key. Even outside pillows with an intricate or simple design can bring a pop of bright color, perfect for spring or summer!
What DIY projects have you been working on lately?
Have a great day!

I’ve linked up at:
Up to Date Interiors, Link Party Palooza, Get Your DIY On




 April Hoff says
August 16, 2014 at 11:22 pmThese are so cute, Erin! Great tutorial…now I just need to learn how to sew!!
 theblueeyeddove says
August 17, 2014 at 7:02 pmThanks, April! I’m still learning the ropes of sewing myself. Not as easy as it looks. And I have sort of a “lead foot” with the pedal…not good for driving or for sewing 🙂
 Bette @ Somerset Lane says
September 8, 2014 at 2:16 pmI love the colours! I have some fabric waiting to be made over into pillow covers… I’m using this tutorial!
 theblueeyeddove says
September 8, 2014 at 2:22 pmThanks, Bette! They were really easy to make too…actually I just made some more this weekend 🙂
 Melissa - aprudentlife.com says
September 8, 2014 at 5:14 pmI’m dying over those fabrics! Gorgeous picks!
 theblueeyeddove says
September 8, 2014 at 5:31 pmThanks, Melissa! The fabric is from Hobby Lobby…they have the coolest fabric 🙂
 Katie Stahl says
September 8, 2014 at 10:11 pmThis is my favorite way to make pillow covers, too! So easy! I just love that fabric!
 theblueeyeddove says
September 8, 2014 at 10:13 pmThanks, Katie! I know it’s so easy…just made some new pillow covers this weekend 🙂
 Jessica V says
January 20, 2015 at 4:45 pmi just made some of these. They were super easy! Mine came out a little bit big so I went back and topstitched them and they look just as good!
 theblueeyeddove says
January 22, 2015 at 3:50 pmGlad to hear it was easy, Jessica! Hope you are enjoying your new pillows 🙂
 Karen Marie Kedzuch says
February 9, 2015 at 3:27 amErin,
Great minds think alike. I love your tutorial. I have been making pillows like yours for my lake house and I smiled when I saw the fabulous tutorial you created. I use the plastic packaging as a pattern. Your wok is gorgeous!
Happy Creating,
Karen Marie
Dragonfly & Lily Pads
 theblueeyeddove@gmail.com says
February 9, 2015 at 12:59 pmThanks for the sweet comments, Karen! I’m jealous you have a lake house 🙂
 beans@48 says
March 6, 2015 at 4:06 amI am trying these today. I love your choice of fabric is it a cotton?
 theblueeyeddove@gmail.com says
March 6, 2015 at 2:29 pmThanks! Yes, it is 100% cotton. I found it at Hobby Lobby last summer in the home décor fabric section. Good luck with your pillow covers!
 Melody says
July 21, 2015 at 9:50 pmI was wondering where you got the pillows? not the covers but the pillow, im having trouble finding them. Thank you! 🙂
 theblueeyeddove@gmail.com says
July 21, 2015 at 10:02 pmThe pillows I used are from Target and Marshall’s. The original pillow cases were removable, so I take them off and store them when I feel like switching things up and using the pillow covers I made. Hope this helps Melody 🙂
 Melissa Leach says
July 13, 2016 at 1:33 pmLove the pillow covers and your tutorial. I have a question for all you pillows on the sofa people. What kind of pillow base do you use so they don’t get a squished and flat? We USE our pillows and they aren’t holding up long. I have the best luck with down pillow forms, what about you?
 theblueeyeddove@gmail.com says
July 13, 2016 at 3:23 pmThanks, Melissa! I agree. Down pillows work the best for me too. I’ve tried others that are a little more firm and they hold up ok, but down tend to look the best and hold their shape longer 🙂